Are you new to nail art and looking for simple, fun ways to decorate your nails at home? DIY nail designs for beginners don’t have to be complicated or require fancy tools. With a few basic supplies and some creativity, you can create stunning nail looks that impress everyone. This guide will walk you through easy step-by-step designs, tips for success, and beginner-friendly ideas to get you started in 2025.
Why DIY Nail Designs Are Perfect for Beginners
Nail art is a fantastic way to express your personality, and doing it yourself saves money while letting you experiment at your own pace. As a beginner, you don’t need professional skills—just patience and practice. Plus, with trends evolving in 2025, simple designs like minimalist dots or pastel gradients are both stylish and achievable.
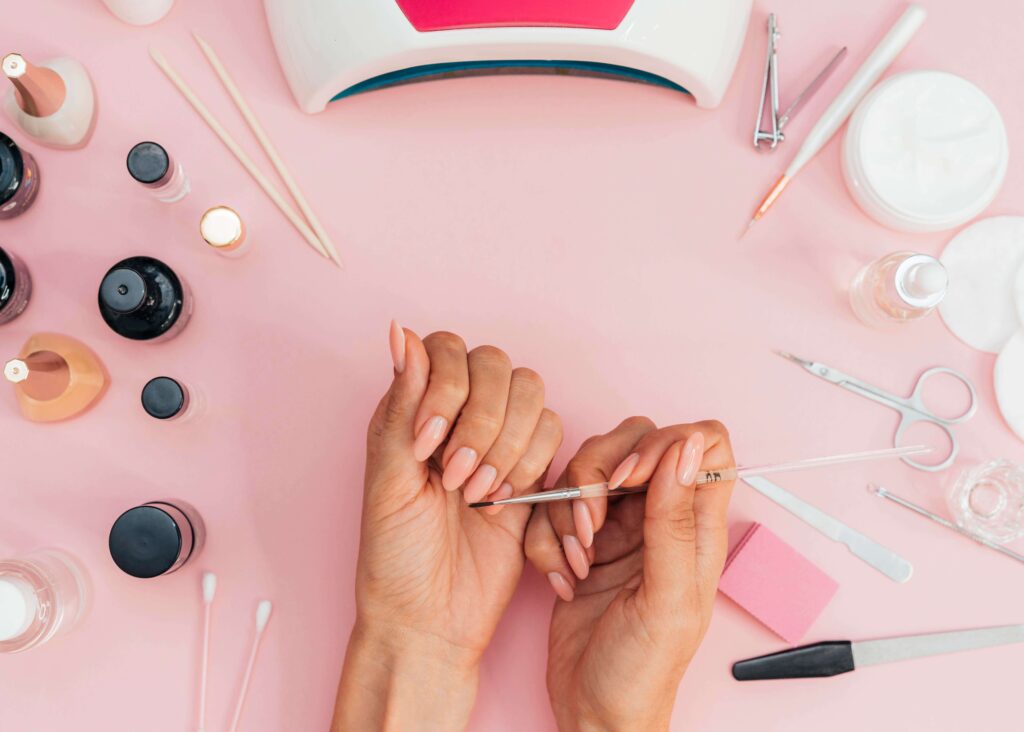
What You’ll Need to Get Started
Before diving into your DIY nail designs, gather these basic tools:
- Nail polish: Start with 2-3 colors (a base color, accent shade, and top coat).
- Tools: Toothpicks, cotton swabs, tape, or a dotting tool (optional).
- Base and top coat: Protects your nails and adds shine.
- Nail polish remover: For quick fixes.
- A steady hand: Don’t worry—practice makes perfect!
No need for expensive kits yet. These everyday items work wonders for beginners.
Top 5 Easy DIY Nail Designs for Beginners
Here are five beginner-friendly nail art ideas you can try right now. Each design includes step-by-step instructions and pro tips to ensure success.
1. Polka Dot Nails
Perfect for a cute, playful look.
Steps:
- Apply a base coat and let it dry.
- Paint your nails with a solid color (e.g., white or pastel pink).
- Dip a toothpick into a contrasting polish (like black or gold) and gently dot it onto your nails.
- Finish with a top coat.
Tip: Space the dots randomly for a natural, fun vibe.
2. Simple Stripes
Bold yet easy to master.
Steps:
- Start with a base coat and a light base color (e.g., nude).
- Cut thin strips of tape and place them on your nails diagonally or vertically.
- Paint over with a darker shade (e.g., navy blue), then peel off the tape.
- Seal with a top coat.
Tip: Wait for the base color to dry fully before adding tape.
3. Glitter Accent Nail
A touch of sparkle without the mess.
Steps:
- Apply a base coat and a solid color on all nails (e.g., light gray).
- Choose one nail (like the ring finger) and paint it with glitter polish.
- Add a top coat to all nails for a polished finish.
Tip: Use a cotton swab with polish remover to clean up glitter around the edges.
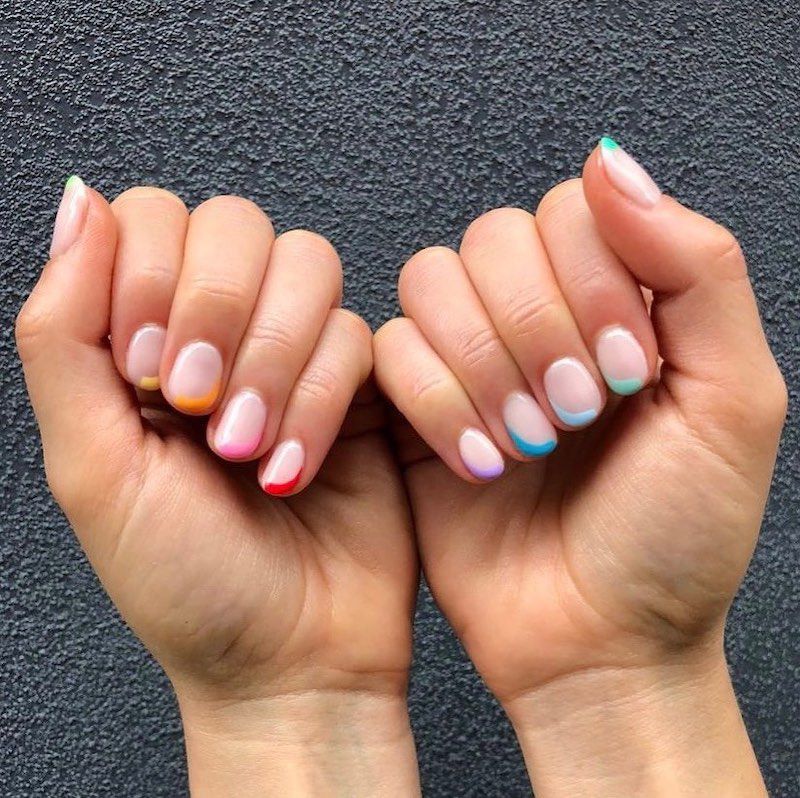
4. Half-Moon Design
Chic and trendy for 2025.
Steps:
- Apply a base coat and let it dry.
- Place a small circular sticker (or hole reinforcement sticker) near the cuticle.
- Paint the exposed nail with a bold color (e.g., red or teal).
- Remove the sticker and add a top coat.
Tip: Try a metallic shade for extra flair.
5. Ombre Gradient
A soft, dreamy effect that’s easier than it looks.
Steps:
- Paint your nails with a light base color (e.g., white) and let it dry.
- On a makeup sponge, dab two colors (e.g., pink and purple) side by side.
- Press the sponge onto your nail to blend the colors.
- Clean up edges with a cotton swab and finish with a top coat.
Tip: Work quickly before the polish dries on the sponge.
Beginner Tips for Perfect DIY Nail Art
Start small: Master one design before moving to more complex ideas.
Practice on paper: Test your design with a toothpick or brush on paper first.
Fix mistakes easily: Dip a cotton swab in nail polish remover to correct smudges.
Dry time matters: Wait 2-3 minutes between coats to avoid streaks.
Seal the deal: A top coat not only adds shine but also protects your hard work.
Common Mistakes to Avoid
As a beginner, you might hit a few bumps. Here’s how to dodge them:
- Skipping the base coat: This leads to chipping and staining.
- Overloading polish: Thick layers take forever to dry and look messy.
- Rushing the process: Patience is key—let each layer dry fully.
Why These Designs Work in 2025
According to nail art trends on social media (like Instagram and Pinterest), minimalist and colorful designs are dominating this year. Beginners can jump on these trends without needing advanced skills. Plus, Google’s AI-driven search loves content that’s fresh, practical, and visually engaging—so pairing this guide with photos or a quick video tutorial (if you’re posting online) can boost your ranking.
Final Thoughts
Creating DIY nail designs for beginners is all about starting simple and having fun. Whether you love polka dots or a glittery accent, these ideas prove you don’t need to be a pro to rock gorgeous nails. Try one design today, and with practice, you’ll be ready to experiment with more intricate looks in no time.
Have a favorite nail design or need help with a specific step? Let me know in the comments—I’d love to hear from you!